- The machine has three starting position for both cross-stretch and length stretch to accommodate different sock sizes.
- The positions are changed using the reposition release pin (Figure 8a).
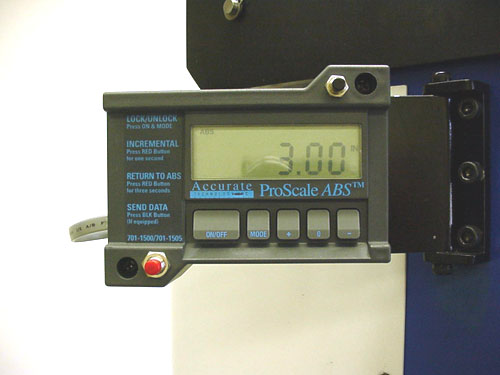
- The three positions are: 2 inches cross and length stretch (Figure 8b, 8c), 3 inches cross and length stretch (Figure 8d, 8e), and 4 inches cross and length stretch (Figure 8f, 8g).
- It may be necessary to zero the scale to match the arm setting (Figure 4a).
Figure 8a

Figure 8b

Figure 8c

Figure 8d

Figure 8e

Figure 8f

Figure 8g

Figure 4a
- Each sock can be measured only once. All measurements on different sock profiles should always be taken at the same place.
- Begin with length stretch and then measure cross stretch on each sock.
- Have the sock fabric for each measurement as straight as possible.